Alright! So I did this a while ago... "did" is kind of an overstatement, but bear with me. I tend to get compliments on my makeup fairly often, so I thought I'd spread the love and let you guys know what kind of products I use and how I use them. I intended to make it a Lana Del Rey inspired look, but I fucked up my extensions and could only do half my hair, and I also really have no idea how to actually make them look nice... but I tried, and that's all that matters. Here is a relatively half ass tutorial for how I usually do my makeup, all the products I used will be pictured below.
1. Obviously start with a cleansed/moisturized face. If you have a primer that you really like, then go ahead and use it. I've had a couple that I really like but the one that I currently have isn't the best (super greasy) so I just opted to go without it.
2. If my skin is bad, I'll put a really thin layer of foundation on before my concealer just so I have a relatively even skin tone. It's not always a necessary step, and sometimes it feels a bit cakey, but I hate when I'm blotchy so I just deal with it. I use a 5-shade concealer pallette because I almost always need brightness and redness corrector (dark circles, acne scars, etc) So, use the light purple sparingly underneath my eyes, and the green over top of any scars or pimples or general redness you want to be covered up. Over top of that DAB, don't spread the other concealer that matches your skin tone. I usually use a makeup sponge and just spot it around until everything is properly blended.

3. Go over everything lightly with a powder. I'll usually use a loose translucent, but I have a loose tinted one as well that I like. Pressed is fine too, it's really just personal preference.. or whatever you find in your makeup bag. It's just to make sure the concealer doesn't look make you look greasy.
4. Bronzer and blush! DO NOT go crazy with bronzer. I don't care if it's the middle of july and you bake in the sun for 12 hours a day, nobody looks good when their entire face is the same shade of orange. I usually use a large powder brush, and I'll take a very light bronzer and go on the tops of my cheeks, my nose, forehead and chin... basically all over. I'll put a little more emphasis on my cheeks, and using a smaller powder brush I'll use a little blush right where the sun would normally burn my face (I don't know what that spot is actually called, just put it wherever looks natural)

4. Eyeliner. I have one specific eyeliner I LOVE and unfortunately I couldn't find it anywhere, so I had to make due with some random ones I stole from my sister. My eyes are usually what I get the most compliments on. I'm a fan of the cat eye, because I rarely wear mascara on my bottom lashes and my eyes are already massive so it just emphasizes them a bit more. If you have small eyes, it'll help open them up.
5. To get a good angle going, just extend from your bottom lashline upwards until you reach a spot you think is good. I usually extend mine pretty far out, and depending on the occasion you can make it more/less dramatic.
6. The worst and most frustrating part about this is getting your eyes to match! Despite several emotional breakdowns, I eventually got better. Start from the inner corner of your eye and bring the eyeliner all the way across the top, thickness is up to you, and stop right when you get to the outer corner of your eye. Then, connect the line you drew outwards before. I like to make mine straight because I think it looks better when my eye is closed.
7. Do your other eye to the best of your abilities.
8. Cursed with Romanian gypsy eyebrows, I have become an obsessive compulsive plucker. So lately I've had to fill in my eyebrows just so they look relatively decent. I usually use a pencil, but if you have an angle brush and a powder (sometimes I'll just use eyeshadow) that works too.
9. So this is where I attempted to do my hair... This is more or less my natural hair.
10. Obligatory "I don't know how the fuck to use these" picture. I actually lucked out finding extensions that were my exact hair colour, and I got them with the intention to make my hair less boring.. I've used them once, and it was for a bun. Great investment right?
11. I managed to do one side of my head Lana Del Rey-ish. I couldn't make the other side look right, and these ones barely did. I tried though! Don't even bother asking me how I did this because it was just a shit ton of trial and error. I used a wand though, if that helps.
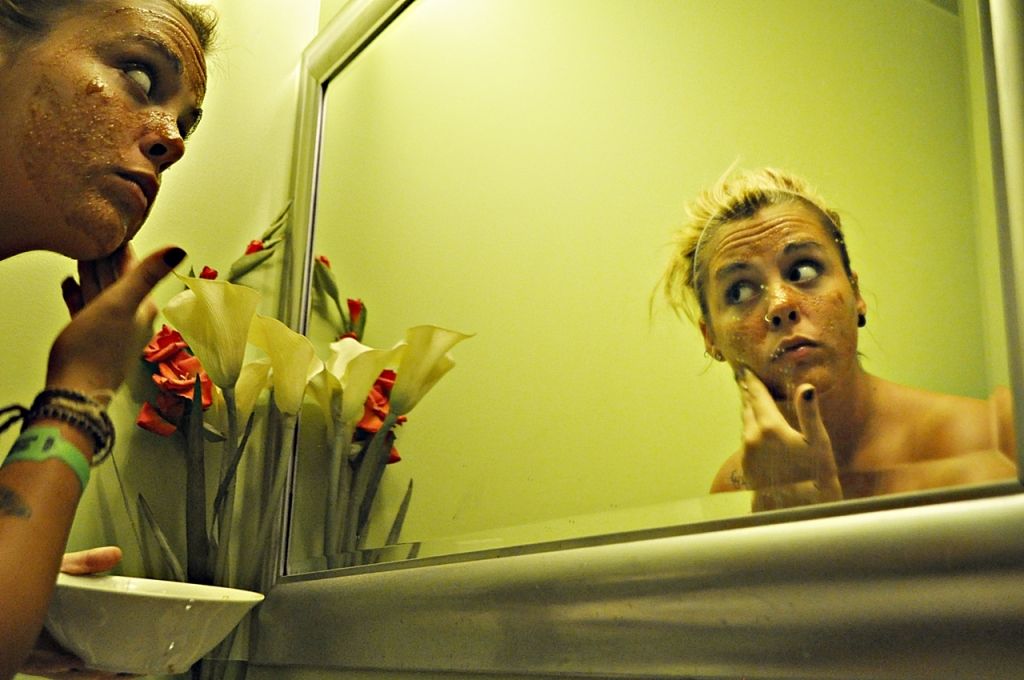
12. Take pouty mirror face pictures of yourself. OH for my lips, I actually just blended concealer and lipstick together because I didn't have a good colour... but usually I use a specific lip gloss that just corrects itself to your lip colour.
Voila, I look socially acceptable.
 |
| Portfolio Professional Correctors, Lise Watier, $31 online (I think I bought it for more in store) |
Best concealer ever. Kinda pricey, upwards of 30 dollars I think... But definitely worth it. I got mine at shoppers drugmart.
 |
| O Gloss Intuitive Lip Gloss, SmashBox, $22 |
Favorite lipgloss. It tastes good, and it'll change your lips to a really nice colour that compliments your skin tone. It actually changes to a different shade depending on who wears it (I've tested it out) so it always looks right for you. I forget how much it is, but it's Smashbox so again a little pricey in comparison to most lipglosses I'd be willing to purchase.
 |
| Happy Booster Glow & Mood Boosting Blush, Physicians Formula, $12 |
For all my facial cosmetics I usually use Physicians Formula. It causes me the least breakouts, it has really great coverage, it looks super natural and they're just great products overall. This blush is really awesome, it isn't obnoxiously pink and it gives you a nice glow. According to the box and the website, it is "Infused with our Happy Boost Blend, featuring Happy Skin and Euphoryl, natural plant extracts which have been shown to promote a feeling of happiness by mimicking the effect of Endorphins and helping protect the skin from environmental stress." I have yet to see the effects of that, but for a blush it's great.
 |
| Bronze Booster Glow Boosting Pressed Bronzer, Physicians Formula, $15 |
Also physicians formula, this bronzer comes in several shades and it also has that nice radiant glow when you use it. I can usually use this one all over my face because its relatively dull, so it doesn't make me orange or anything. I've tried several of their bronzers but this is the one I'm using right now.
 |
| Extreme Art Liquid Eyeliner, Gosh Cosmetics, $16 |
The BEST liquid eyeliner I have ever bought in my entire life. It goes on super well, and it stays on
forever. Taking it off is kind of an inconvenience, but it's well worth it to not get gross chippy bits or smudgey under eye black circles throughout your day/night. Only downsides are that it takes a little while to dry, so if you have massive eyes like me, blinking too quickly after applying it can be a pain in the ass. Other than that, 5 stars.
 |
| Fineline Brow Pencil, Physicians Formula, $5 |
I only got this because I'm a fan of the other products, but for the most part an eyebrow pencil is an eyebrow pencil no matter where you're getting it. It lasts, it isn't too goopy.. it's good.
 |
| Mineral Wear Talc-Free Mineral Illuminating Powder Duo SPF 16, Physicians Formula, $14 |
This is the loose powder I use, it has two shades in it so you can use one side for when you're feeling a bit pasty, the darker side for when you've been in the sun more, or blend them for a perfect shade. Goes on super light and doesn't ever feel too makeuppy.
 |
| Great Lash Mascara, Maybelline |
I'm pretty sure everyone that's ever applied mascara has owned at least one of these guys. Always does the trick. I usually use it for just my bottom lashes if I put mascara on them at all, or when I just need to give my eyelashes a pick-me-up I'll throw this on because it's not too obnoxious.
 |
| Volum' Express Mega Plush Mascara, Maybelline |
Latest addition to my widely diverse mascara collection. It's great for my top lashes because although they're very long, they're super straight. So it helps them keep their curl and add volume.
Hopefully this was somewhat helpful to you guys, definitely try these products if you get the chance, I swear by them now.
Happy Friday :)
ChelC-3P0


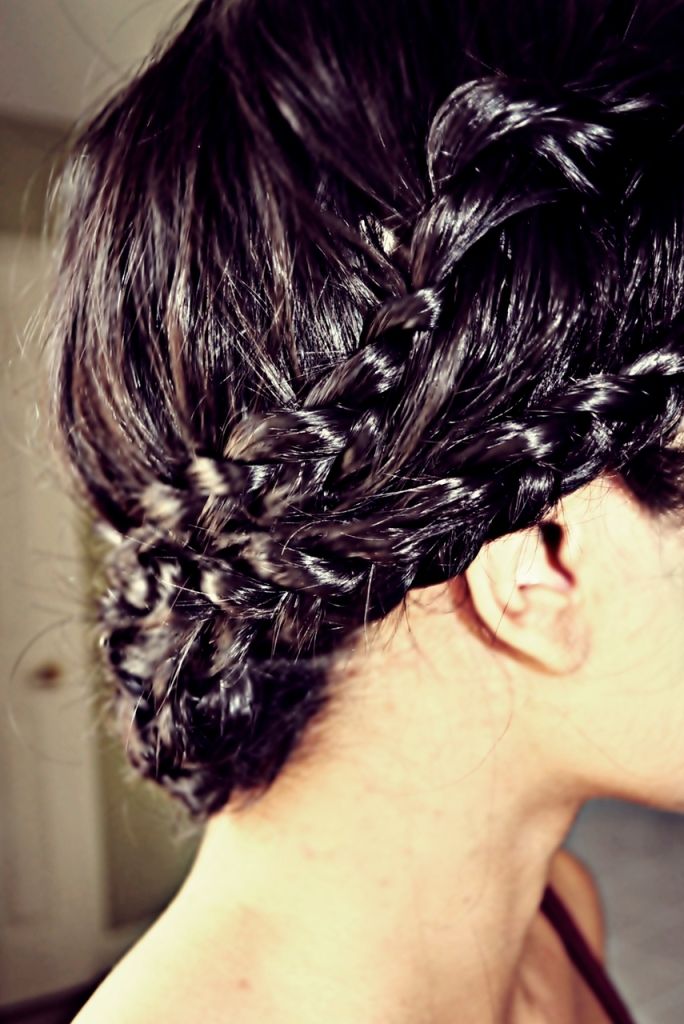
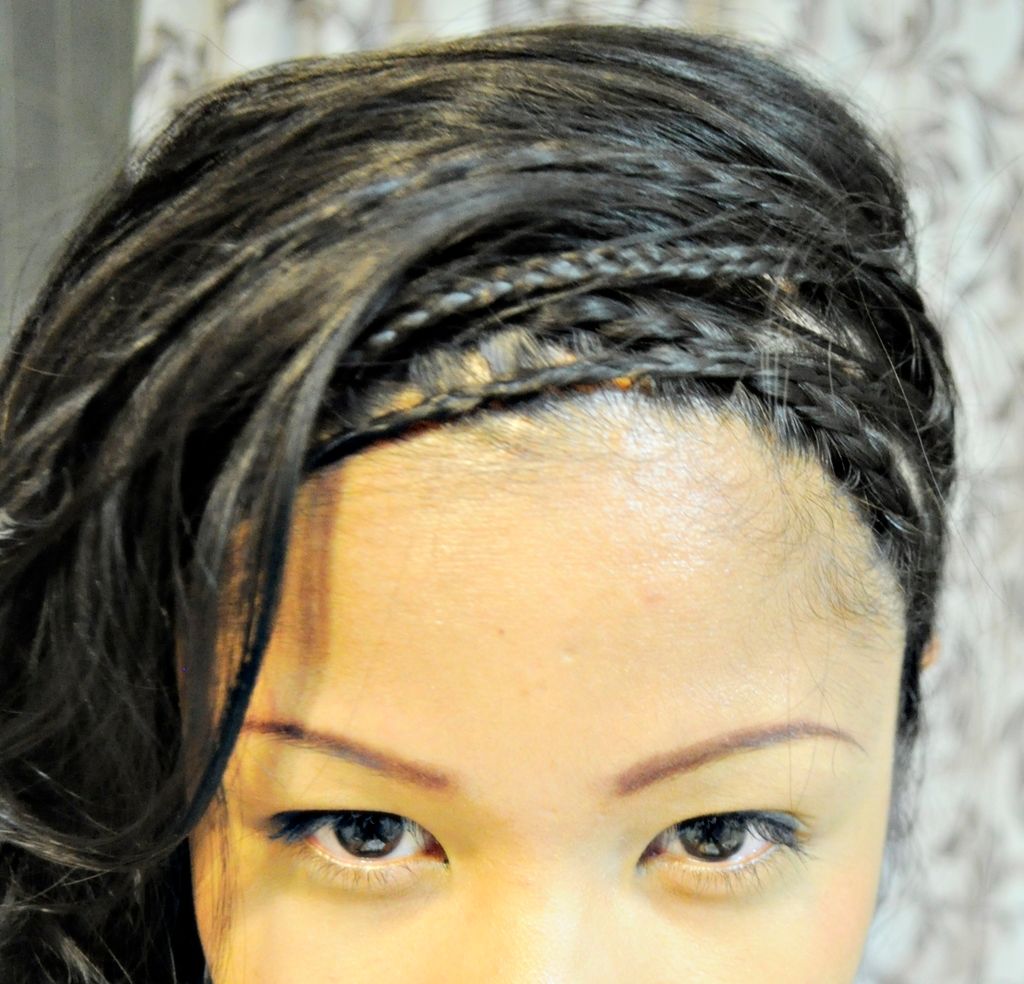 So basically I did one french braid at the front of my head then did three normal braids that just chilled in my hair.. I don't know how else to explain that bit.
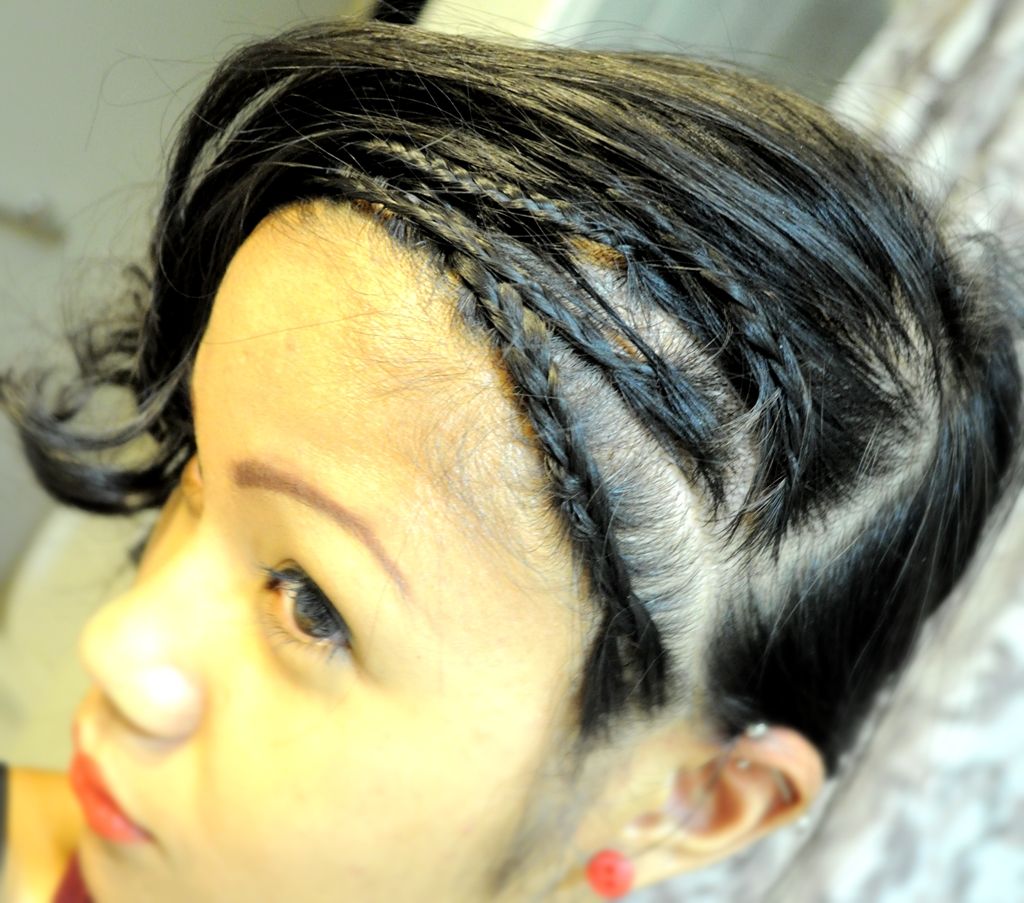 For the most part I hid the elastics by tucking it into the curls. Anyway, what you'll wanna do is pin your hair to the side of your preference and then curl it.
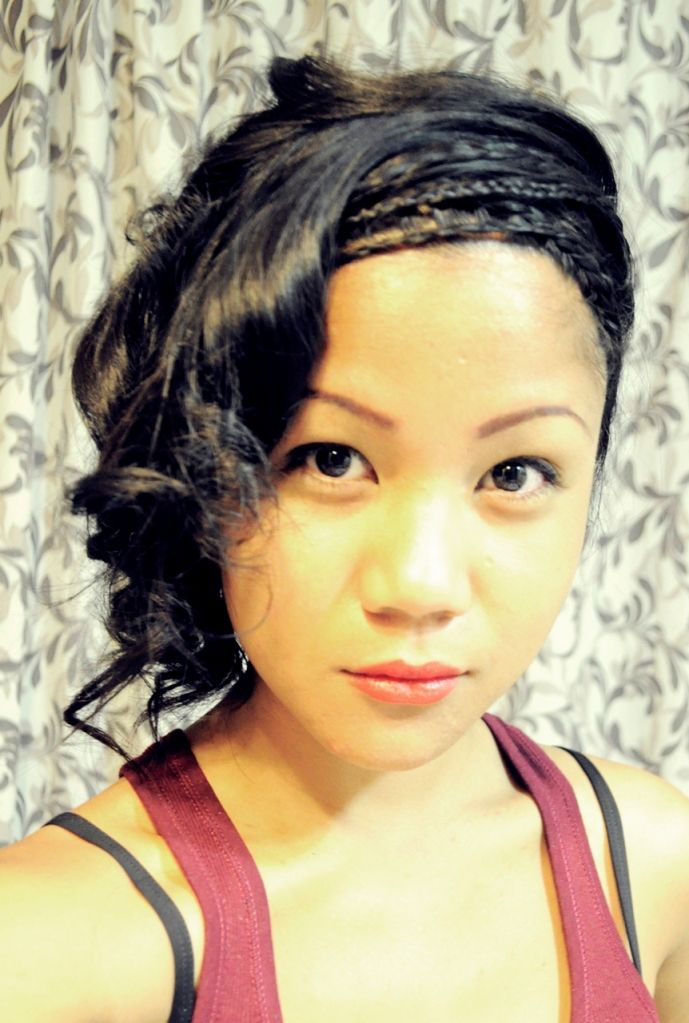 Et VOILA! A braid crown with side-pinned curls!
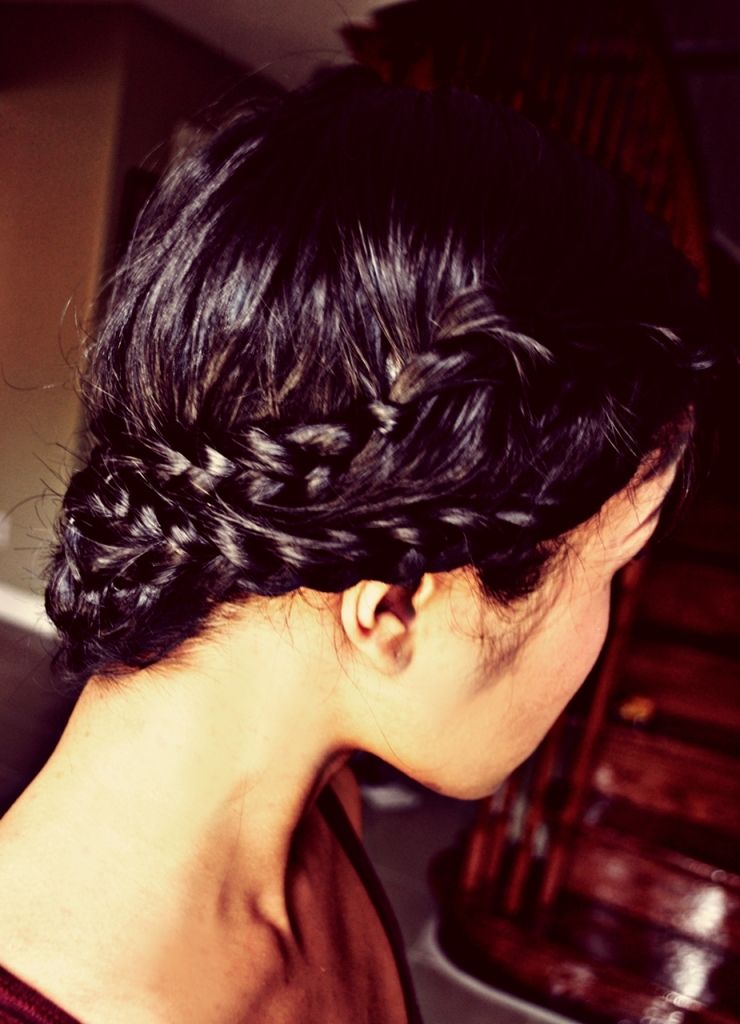
 Side note, this is what I did a few weeks ago that I tried to reproduce.
 taken via Instagram